Annotation Tool
View Collections
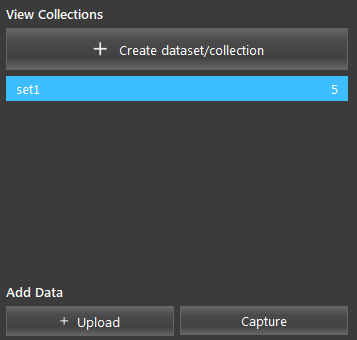
- + Upload
Upload data (.dcf/.png/.daf/.dmf) files to the selected dataset.
- Capture
Add data to the selected dataset by capturing from cameras.
Camera Configuration
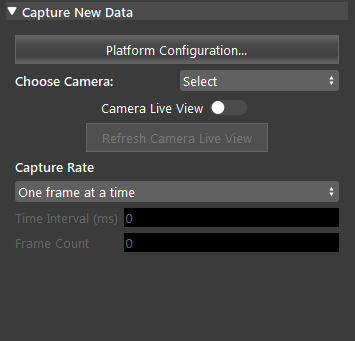
- Choose Camera
The camera source to capture frome. Please refer to Camera for details of adding a camera.
- Camera Live View
When selected, the camera view is continuously refreshed.
- Capture Rate (Default: One frame at a time)
Select one from “One frame at a time” or “Interval time capture”. One frame at a time performs a capture on click. Interval time capture performs a capture every Time Interval for Frame Count.
- Time Interval (ms) (Default: 0 ms)
Available in Interval time capture mode. Amount of time to wait before the next capture.
- Frame Count (Default: 0 ms)
Available in Interval time capture mode. Number of frames to be captured.
Quick Annotate
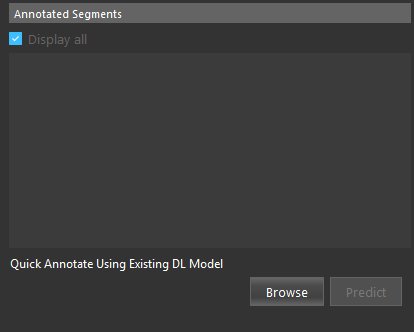
- Browse
Select the path for the dl model config file.
- Predict
Predit the annotation segments on the selected data using the exisiting DL model.
Output
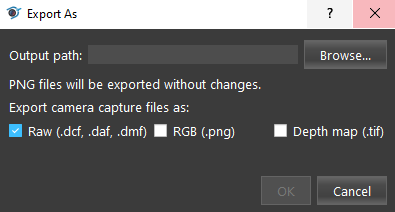
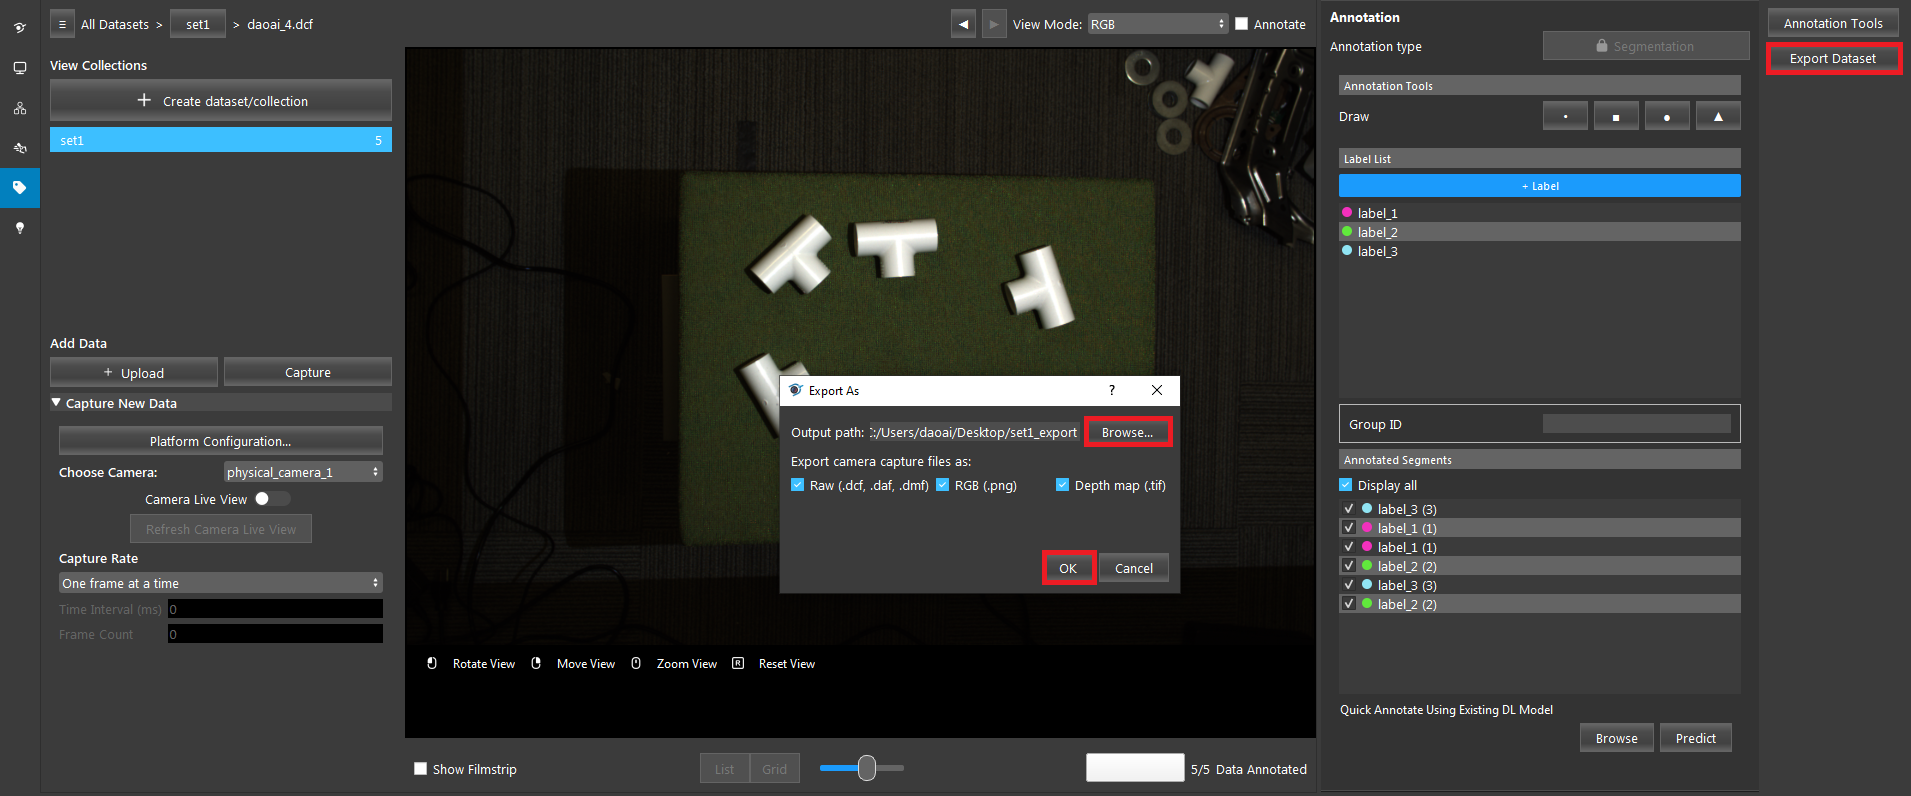
- Output path
The path to export the dataset to.
- Export Capture Files Format
- Can select from:
Raw (.dcf, .daf, .dmf)
RGB (.png)
Depth map (.tif)
Procedure to Use
This section will introduce the segmentation type annotating for the Annotation Tool.
Click the tag icon on the left vertical menu bar to enter the Annotation Tool.
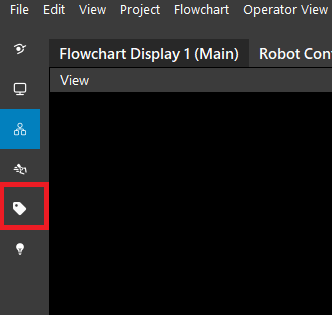
Enter the Annotation Tool view.
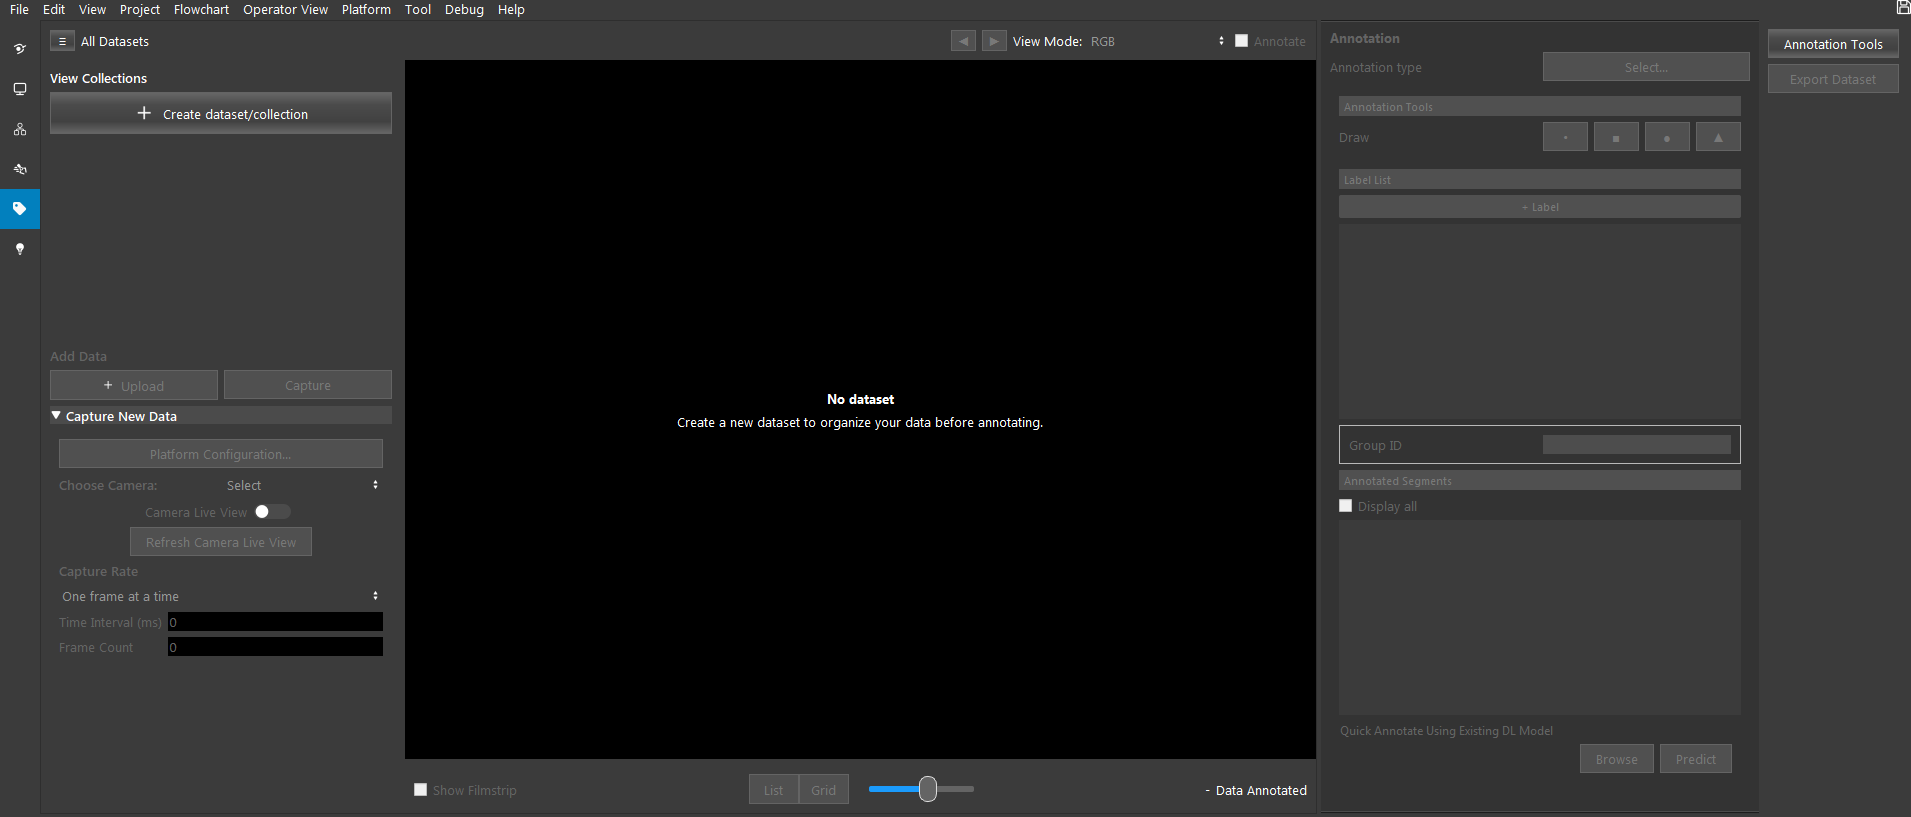
Create a Dataset/Collection to organize our data. Click “Create dataset/collection” and enter the name for the new dataset.
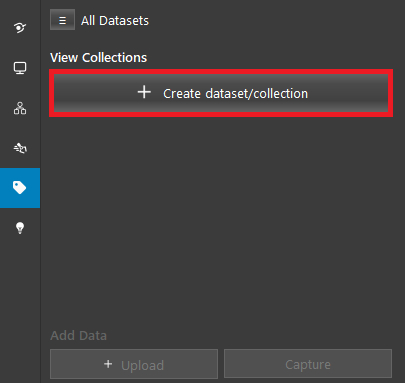
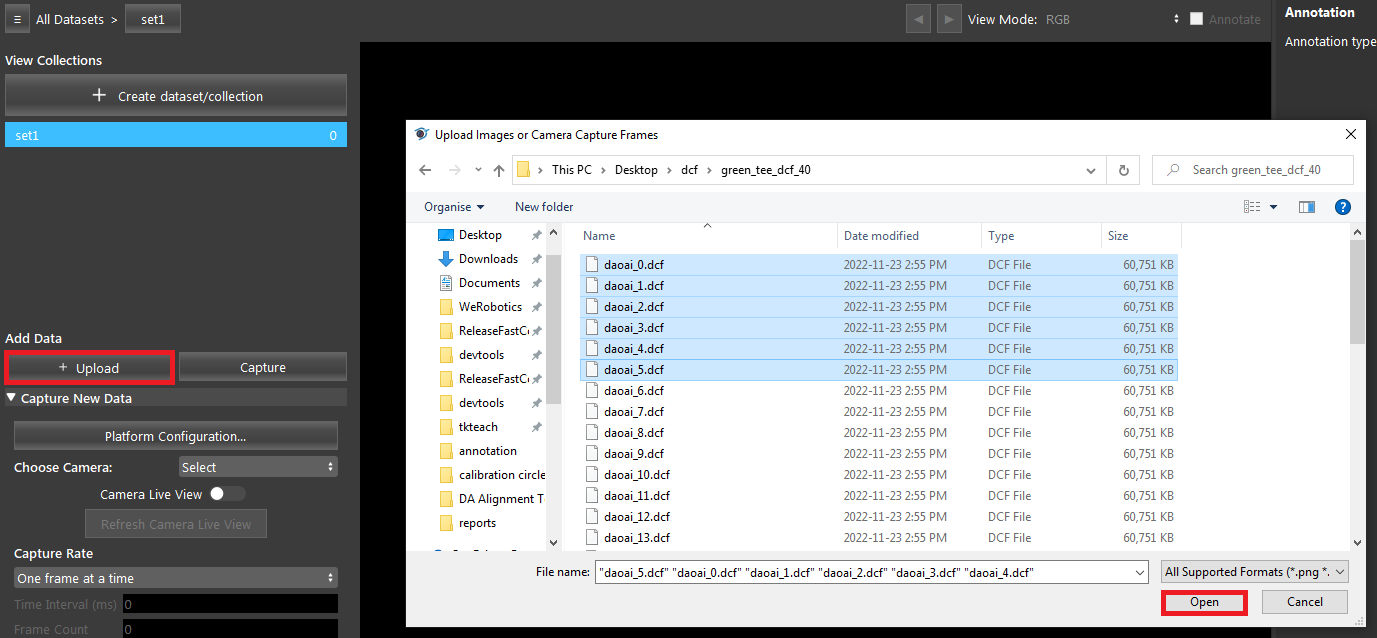
Click “+ Upload”, select some files and click “Open” to upload the data to the dataset.
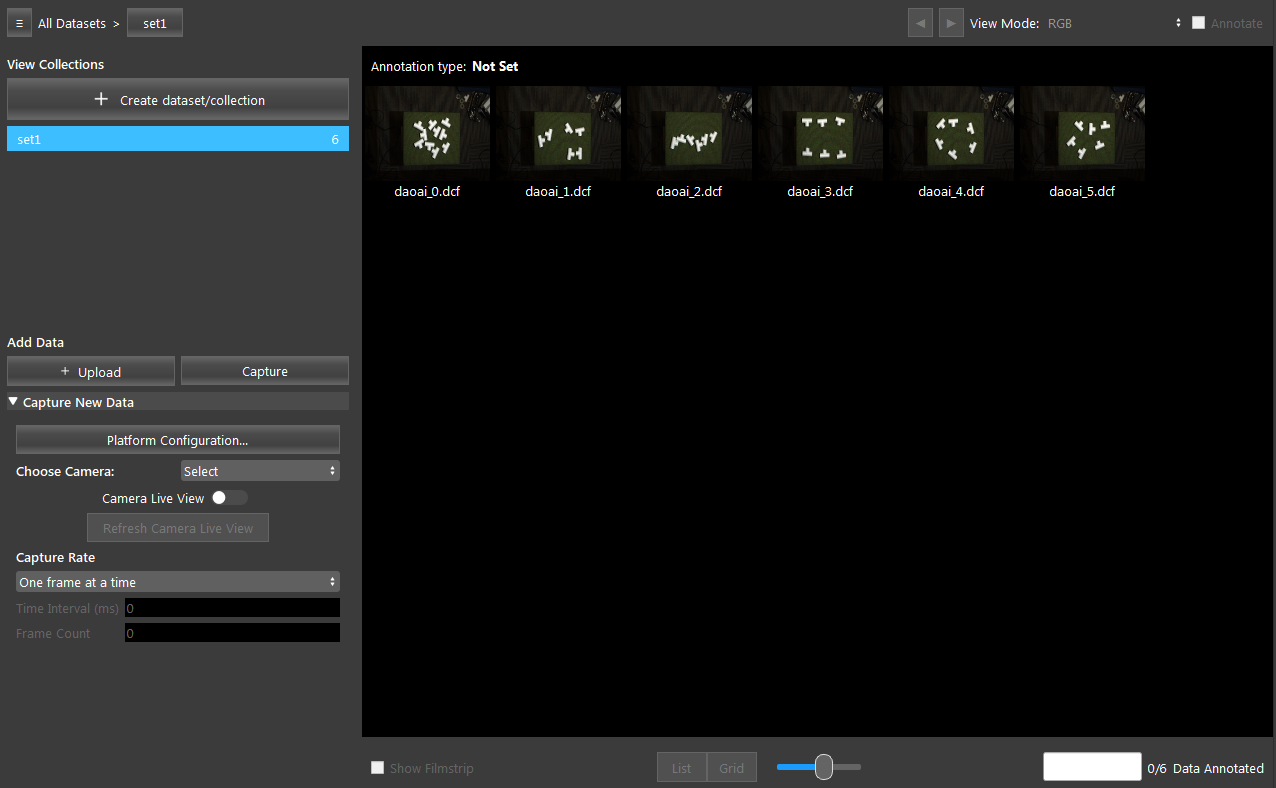
You can see all the data you have uploaded.
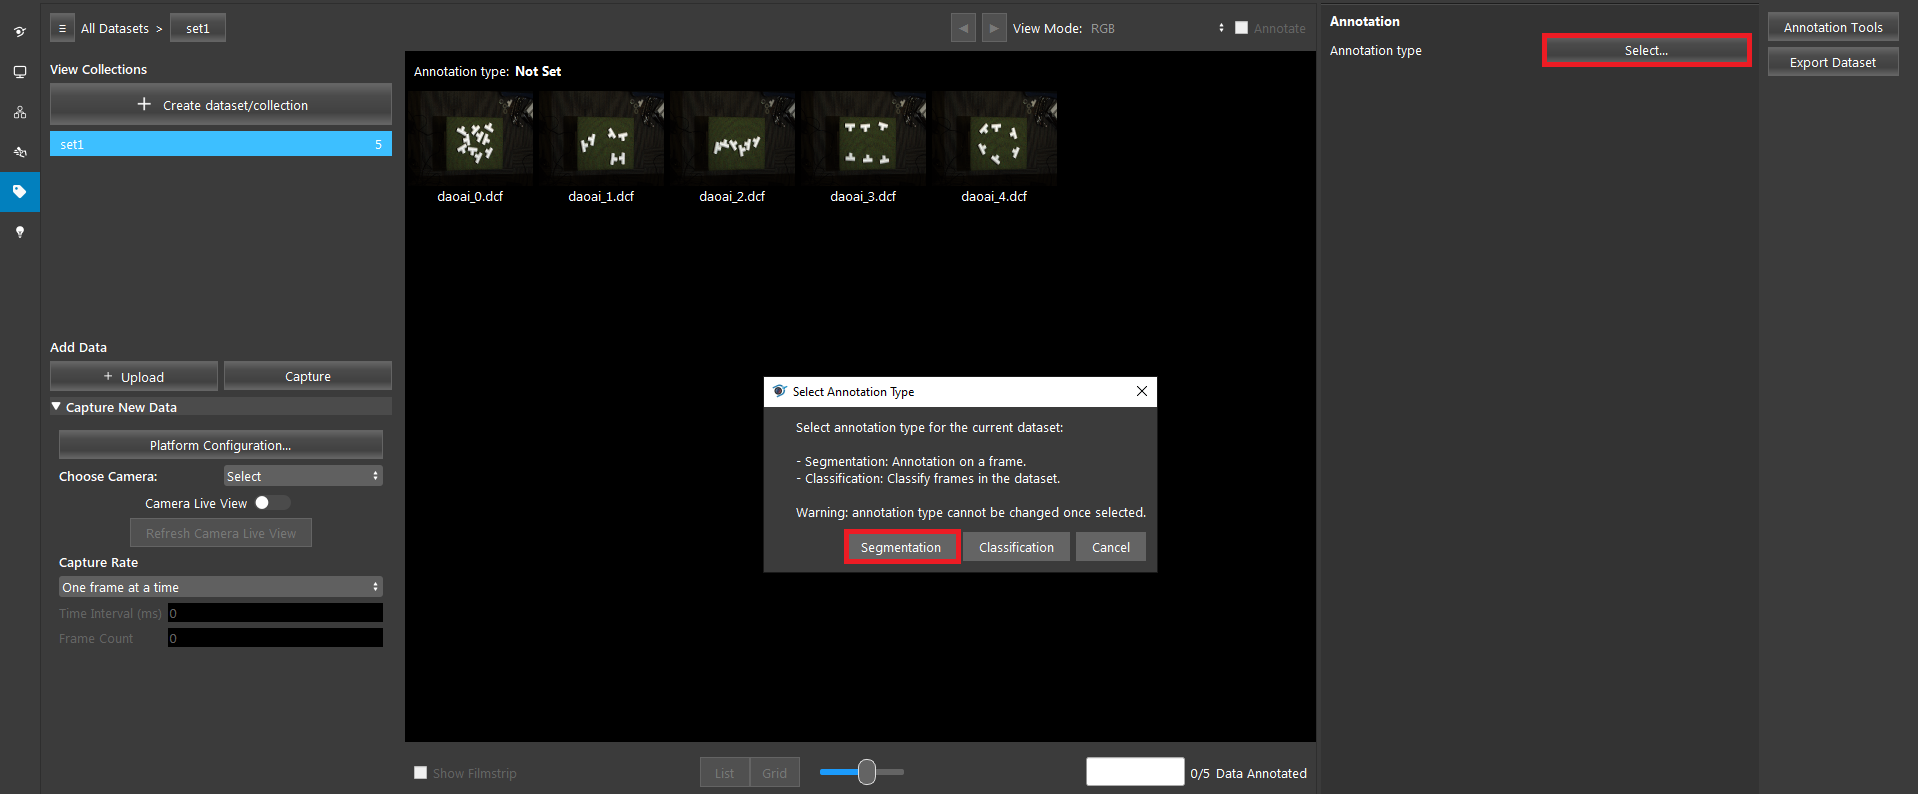
Click “Select..” next to “Annotation Type”, and choose “Segmentation”. The Annotation Type cannot be changed once it is picked.
Add a few labels.
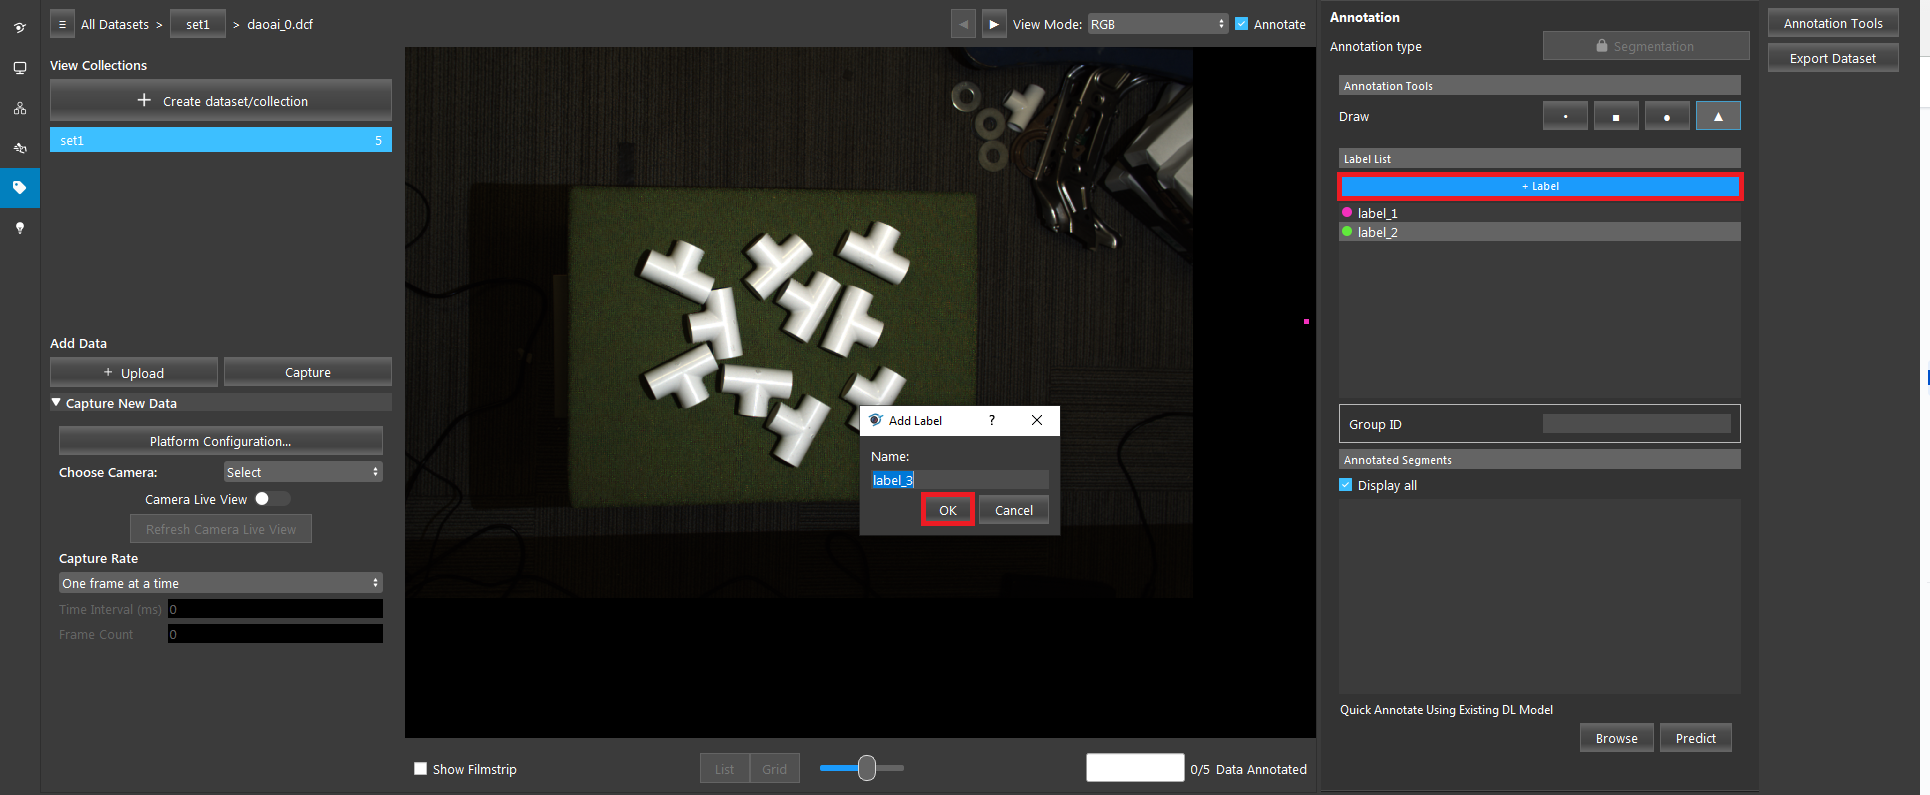
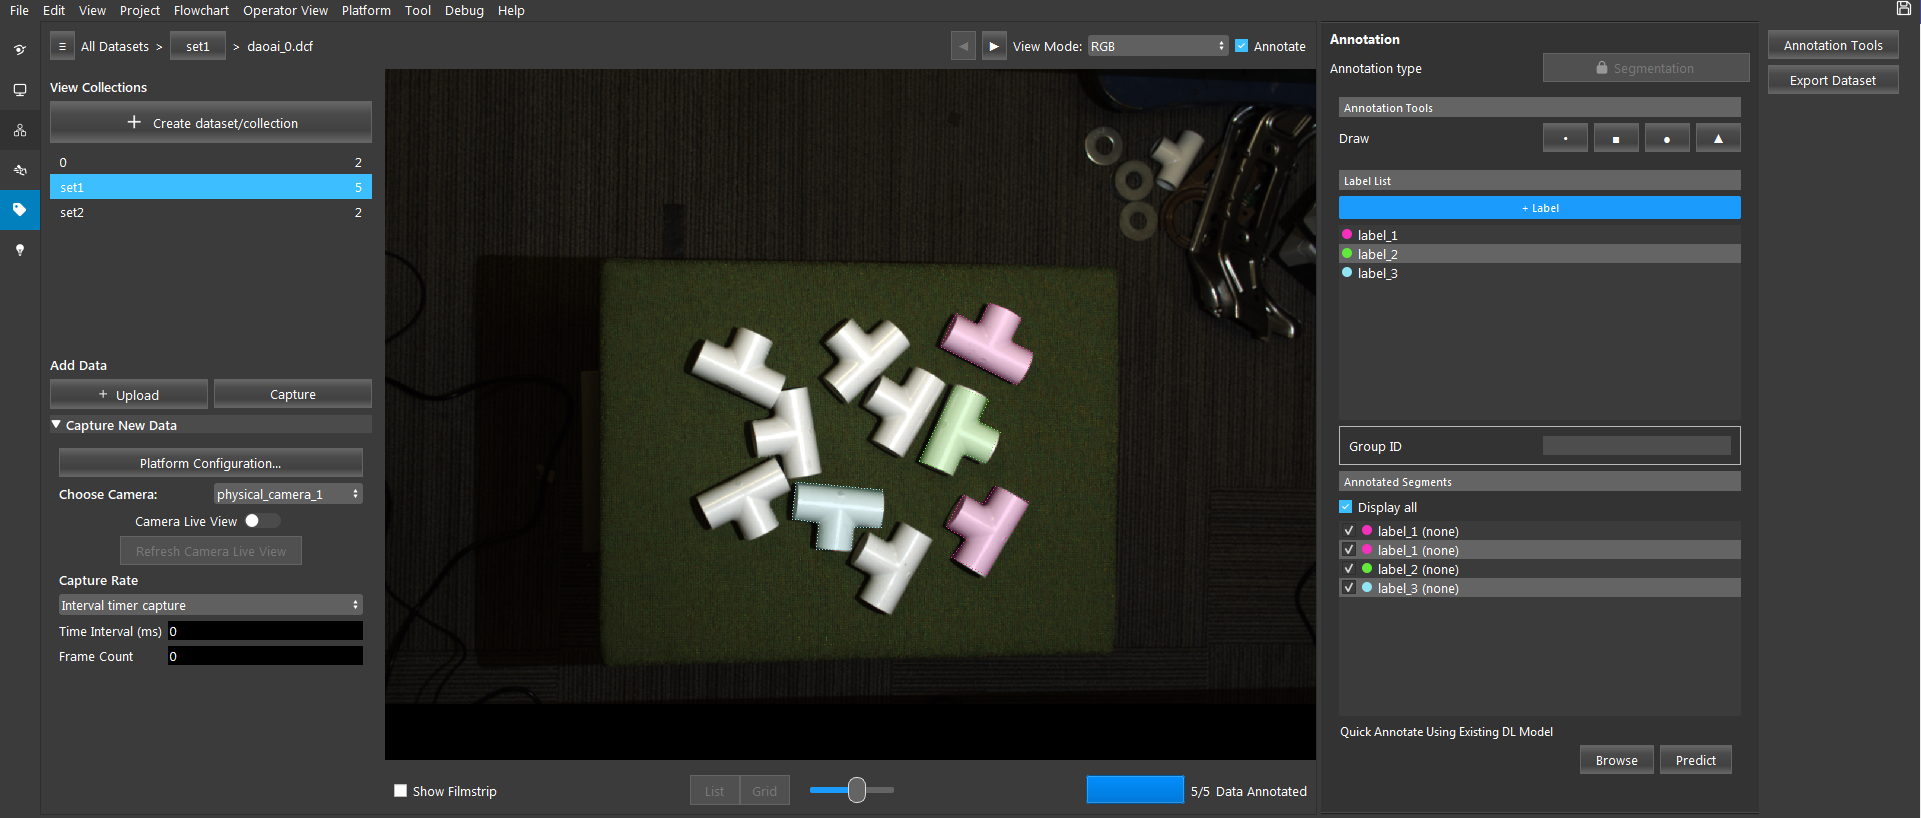
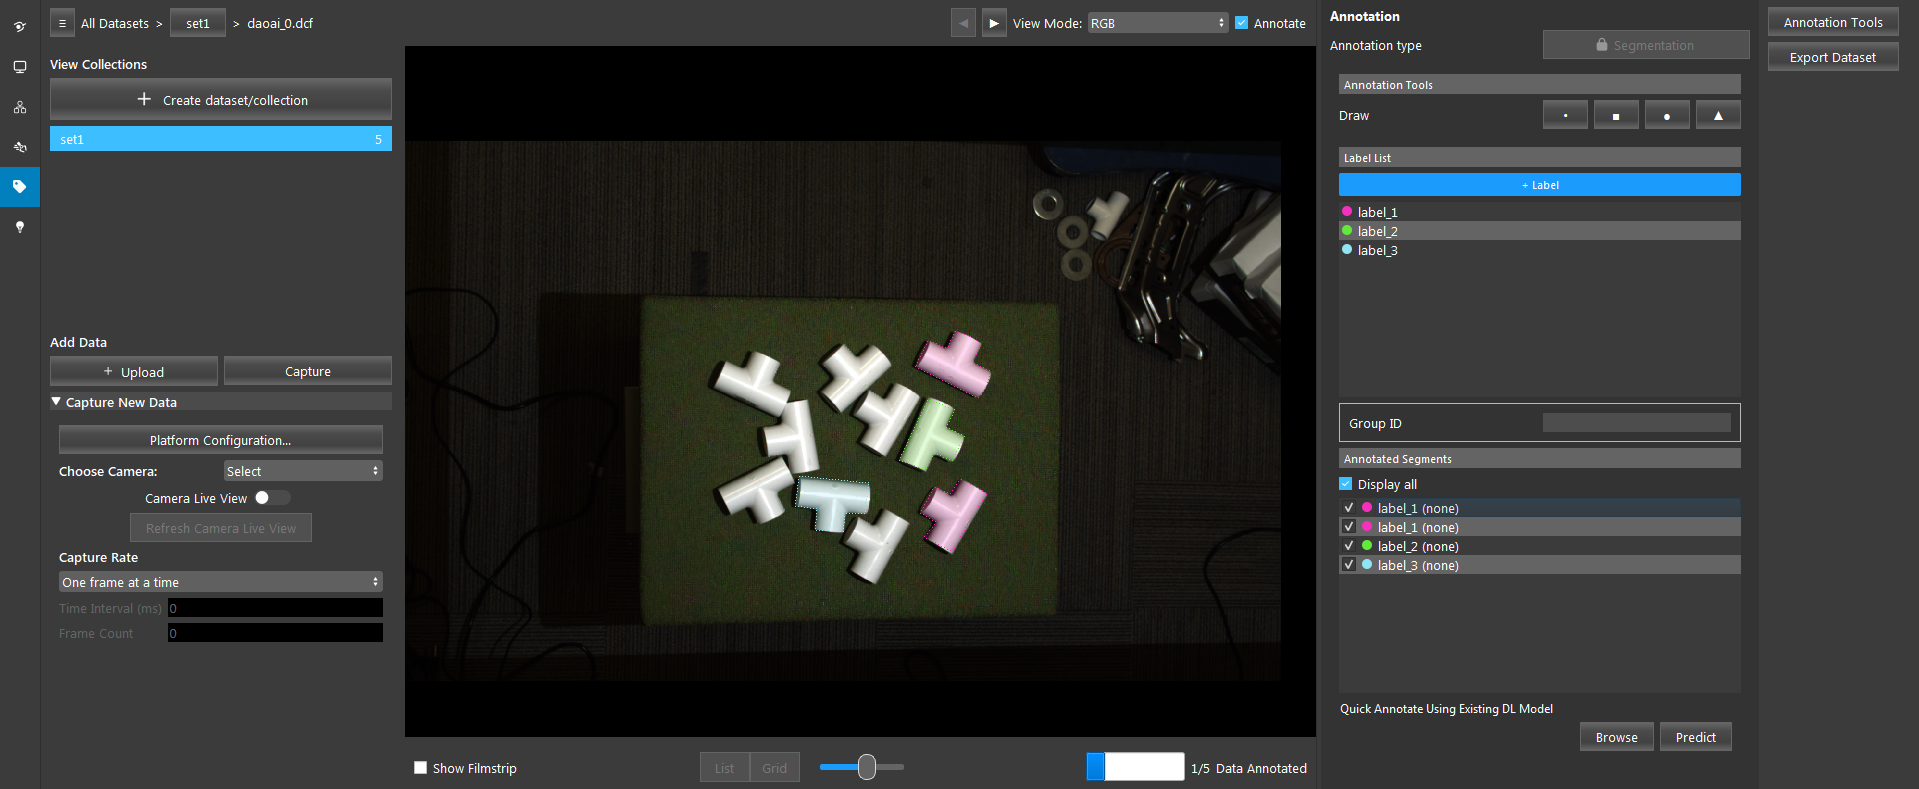
Select a draw shape and a label. Left click to start annotating a segment. Right click to finish annotating a polygon segment.
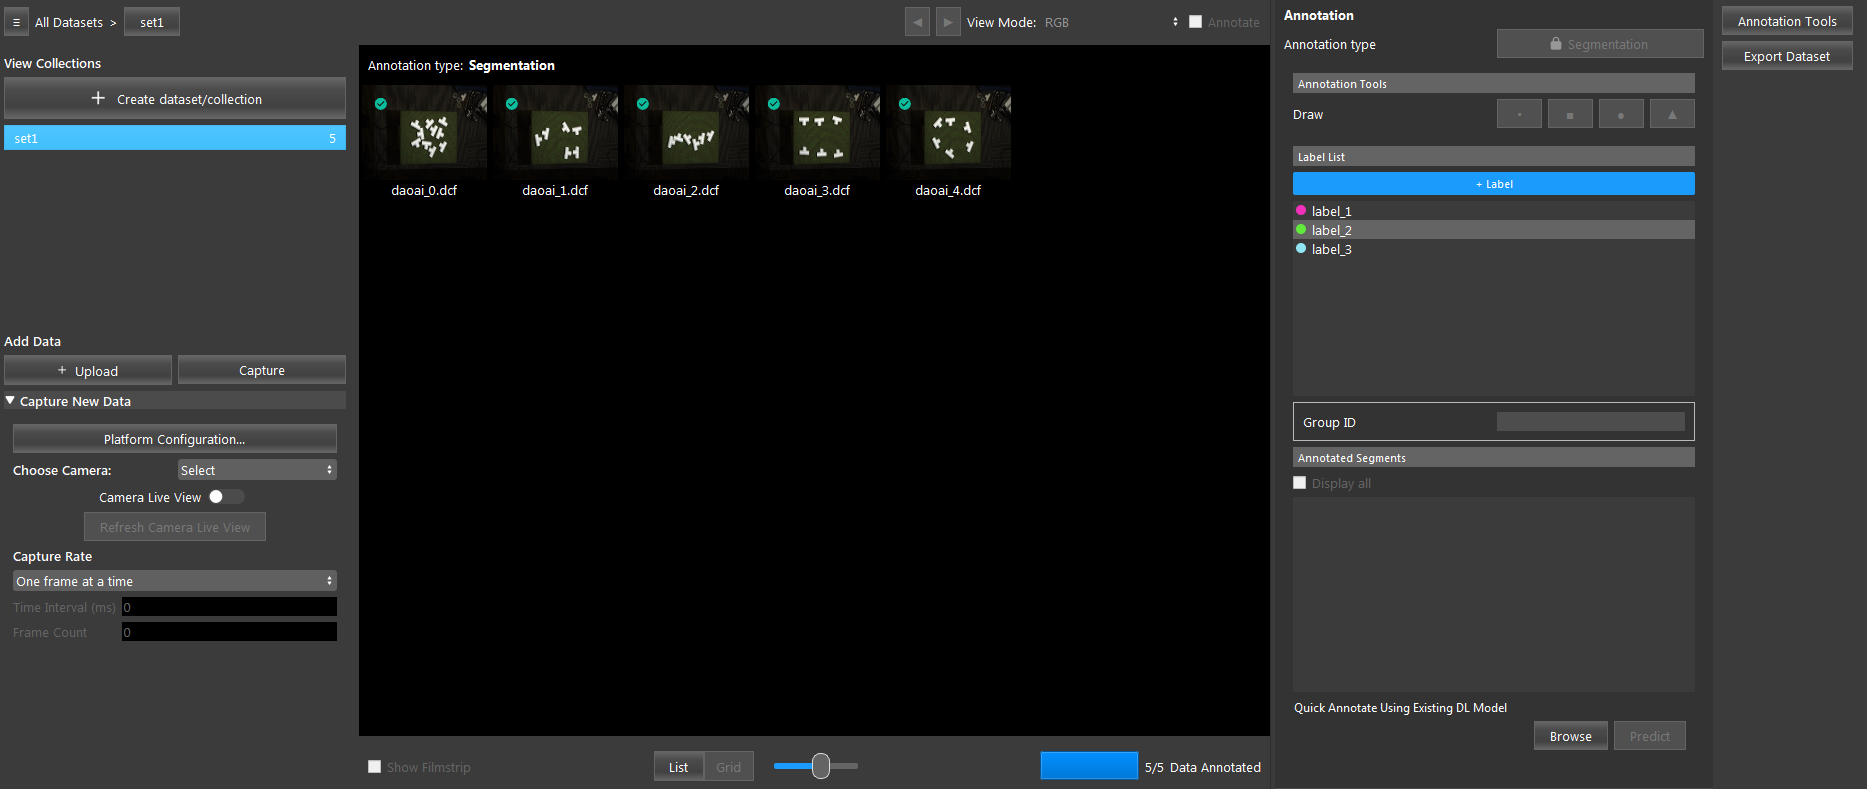
Frames that have been annotated are indicated with a green check mark.
After you have done annotating all the frames, select “Export Dataset” and select a output path to export this datset.
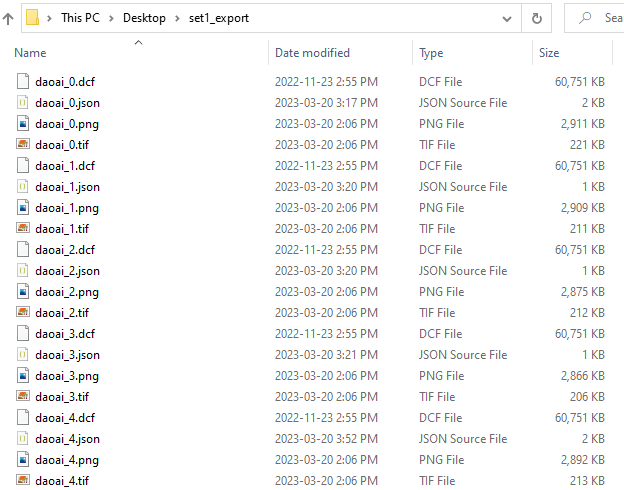
You can find the exported data at the path you selected in step 10.
